Protecting Your Outdoor Faucets in 4 Easy Ways
Preparation
- Walk around your house and be sure you know where they are. Remove your garden hoses and drain water out of them and store them away.
- When you go back inside the house, head over to your main water shutoff. Somewhere near there or maybe in the ceiling you should see a shut-off valve. There should be one leading to each outside faucet. Some call them bibcocks or spigots too.
- They will typically be a lever and there should be a bleed cap that allows you to bleed out any leftover water.
- At this point you should shut off the water at the valve and then go outside and open the faucet at the valve and some water should come out. Grab a bucket and when you go inside, you will want to remove the bleeder cap and let more water come out into your bucket. Replace the bleeder cap and then close the outside faucet.
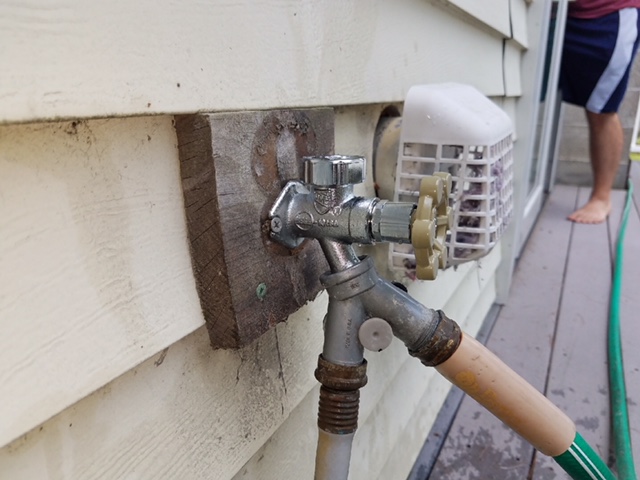
- If you have an older home in the Capital Region, you may not have an indoor shutoff valve. You may want your plumber to retrofit your standard faucet with what is called a frost-free faucet. This allows you to keep the water on all year round. You can also purchase a faucet installation kit that can cover the faucet during our cold winters and can be removed in the warmer months.
Call the “affordable experts” at E.W. Tompkins Plumbing Heating Cooling for outside faucet protection. 518-462-6577


